Zynq UltraScale MPSoC Base TRD 2018.1 - Design Module 4
Zynq UltraScale MPSoC Base TRD 2018.1 - Design Module 4
Table of Contents
Design Overview
This module demonstrates:
- Boot RPU1 from APU master via remoteproc
- Inter Process Communication (IPC)
- APU master: RPMsg
- RPU1 remote: OpenAMP
- RPU1 Bare-metal application (server)
- Reads performance counters and sends to APU
- APU Linux application (client)
- Receives performance counters from RPU1 and prints to UART0

Design Components
This module requires the following components:
- petalinux_bsp
- zynqmp_fsbl
- pmufw
- bl31
- u-boot
- kernel
- device tree (zcu102-base-dm4.dtsi)
- rootfs
- perfapm-server
- perfapm
- perfapm-client-test
- perfapm-client
Build Flow Tutorials
This tutorial uses both XSDK and PetaLinux tools. It is recommended to use separate shells for each of the tools.
Perfapm-server Application
The performance monitor server application perfapm-server is a bare-metal application that executes on RPU-1. The firmware binary is loaded by the APU master at the end of the Linux boot process. RPU-1 and APU establish a communication channel using the OpenAMP framework. RPU-1 gathers performance data like memory throughput from the PS AXI performance monitor (APM) units and sends it across to the APU where the data is received by the perfapm-client library and then visualized on a plotted graph.
- Create a new SDx workspace.
% cd $TRD_HOME/workspaces/ws_perfapm-server
% xsdk -workspace . &&
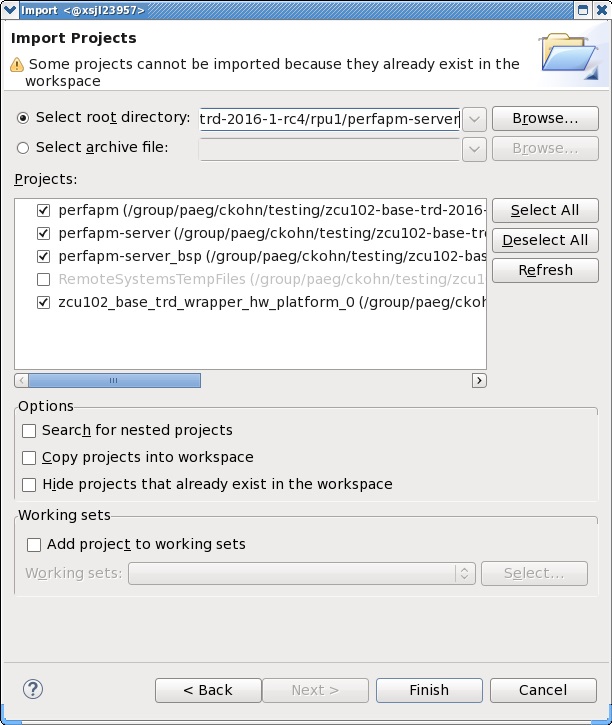
- Click 'Import Project' from the welcome screen, browse to the current working directory and make sure the perfapm, perfapm-server, perfapm_bsp, and zcu102_base_trd_wrapper_hw_platform_0 projects are selected. Click 'Finish'.
- Right-click on the perfapm-server project and select 'Build Project'.
- Copy the generated perfapm-server executable to the dm4 SD card directory.
% mkdir -p $TRD_HOME/sd_card/dm4
% cp perfapm-server/Debug/perfapm-server.elf $TRD_HOME/sd_card/dm4/
Perfapm-client-test Application
The application receives performance counter values from RPU-1 and prints them to UART-0.
- Create a new SDx workspace.
% cd $TRD_HOME/workspaces/ws_perfapm-client
% sdx -workspace . &&
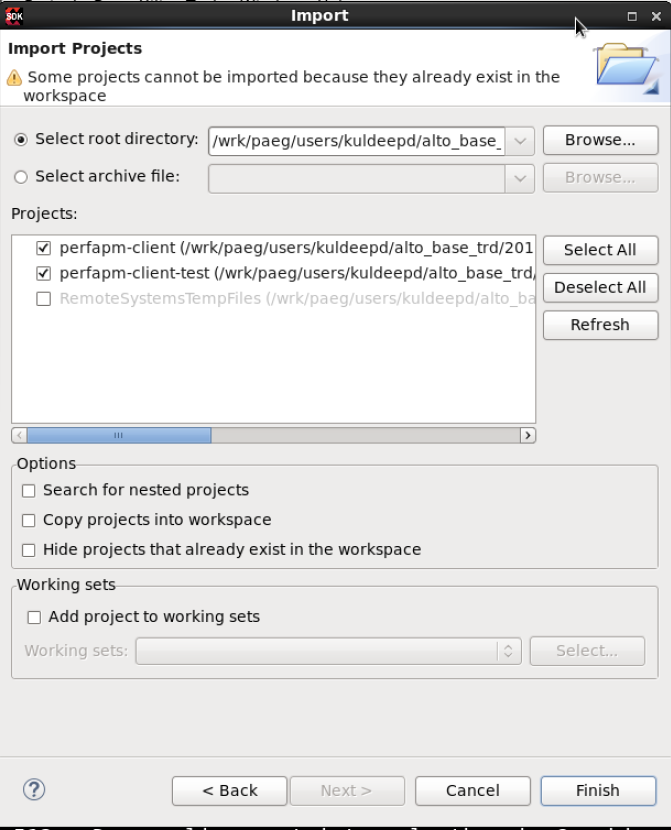
- Click 'Import Project' from the welcome screen, browse to the current working directory and make sure the perfapm-client and perfapm-client-test projects are selected. Click 'Finish'.
- Right-click on the perfapm-client-test project and select 'Build Project'.
- Copy the generated perfapm-client-test executable to the dm4 SD card directory.
% cp perfapm-client-test/Debug/perfapm-client-test.elf $TRD_HOME/sd_card/dm4
PetaLinux BSP
This tutorial shows how to build the Linux image and boot image using the PetaLinux build tool. This step assumes you have run through the PetaLinux config in DM1 previously.
- Select the device-tree matching design module 4 and build all Linux image components. If you have run petalinux-build in a previous module, the build step will be incremental.
% cd $TRD_HOME/petalinux/bsp/project-spec/meta-user/recipes-bsp/device-tree/files/
% cp zcu102-base-dm4.dtsi system-user.dtsi
% petalinux-build
- Create a boot image
% cd $TRD_HOME/petalinux/bsp/images/linux
% petalinux-package --boot --bif=../../project-spec/boot/dm4.bif --force
- Copy the generated images to the dm4 SD card directory
% cp BOOT.BIN image.ub $TRD_HOME/sd_card/dm4
Run Flow Tutorial
- See here for board setup instructions.
- Copy all the files from the $TRD_HOME/sd_card/dm4 SD card directory to a FAT formatted SD card.
- Power on the board to boot the images; make sure all power rail LEDs are lit green.
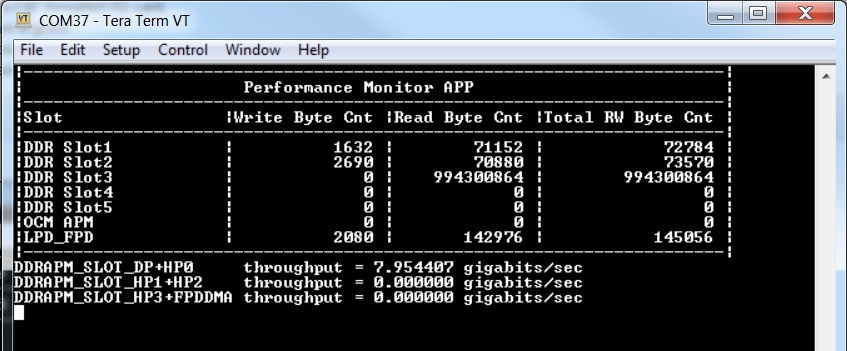
- Run the perfapm-client-test application:
% perfapm-client-test.elf
- Below is a screenshot of the application output on the serial console:
Continue with Design Module 5.
Return to the Design Tutorials Overview.
© Copyright 2019 - 2022 Xilinx Inc. Privacy Policy