Debugging RFDC Linux Application in SDK
In this brief demo, we shall discuss how to build the linuc image for the rfdc. We shall also discuss the steps needed to build and execute a Linux application testing the rfdc driver in SDK.
Table of Contents
Building Linux Image:
The recommended flow is to use Petalinux 2018.1 (or later) to create the Linux Image. There is a rfdc recipe here that will build the rfdc driver.If using Yocto to build the linux image, then the user can build the rfdc from the meta-petalinux layer (bitbake rfdc), this will be created when calling the petalinux-image-minimal task.
However, for users using a custom flow, the rfdc recipe can be extracted from the meta-petalinux/recipes-bsp layer. There is a dependency here on the fsbl's xparameters.h file, so the fsbl_%.bbappend
will need to be extracted from here too.
If users are using the ZCU111 development board, then it is recommended to use the BSP for this board in Petalinux
- petalinux-create -t project -s <path to the bsp>
- cd <project directory>
- petalinux-build
If using a custom board, then the flow below can be used:
- petalinux-create -t project --template zynqMP -n rfdc_image
- cd rfdc_image
- petalinux-config --get-hw-description=<path to HDF>
- copy the contents of the meta-petalinux/recipes-bsp to rfdc_image/project-spec/meta-user/recipes-bsp
- petalinux-build -c rfdc
- petalinux-build
Note: we shall be making a local copy of the sysroots/aarch64_plnx on windows machine as this will be used in SDK to debug the linux applciation
cp -R <TMPDIR>/sysroots <directory on yout local machine>
Note: User can obtain the TMPDIR below:
- petalinux-config
- Yocto Settings
- <TMPDIR>
- Yocto Settings
Creating Linux application in SDK:
Here we will use the example applications, that are delivered with the rfdc driver. However, users can develop their own application as they see fit.
- File -> New -> Application Project
- Give the project a name: rfdc_linux
- OS Platform: Linux
- Processor Type: psu_cortexa53
- Tick the Linux System Root box
- Browse to the aarch64_plnx that was copied in the previous step
- Next
- Select Linux Empty Application template
- Finish
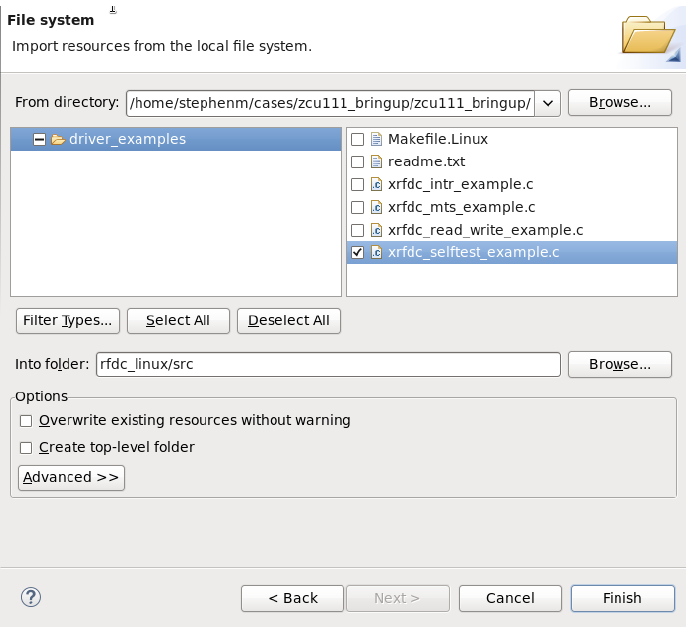
Right click on the src folder in the application (rfdc_linux) and select import -> General -> Filesystem:
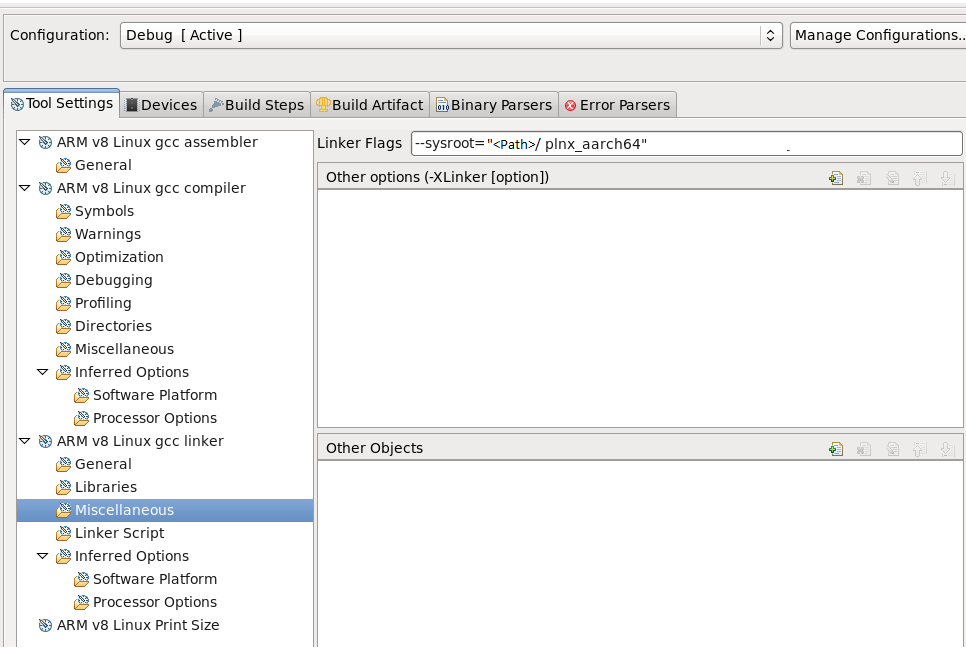
Right click on the application (rfdc_linux), and select C/C++ Build Settings. Then add the --sysroot path as shown below:
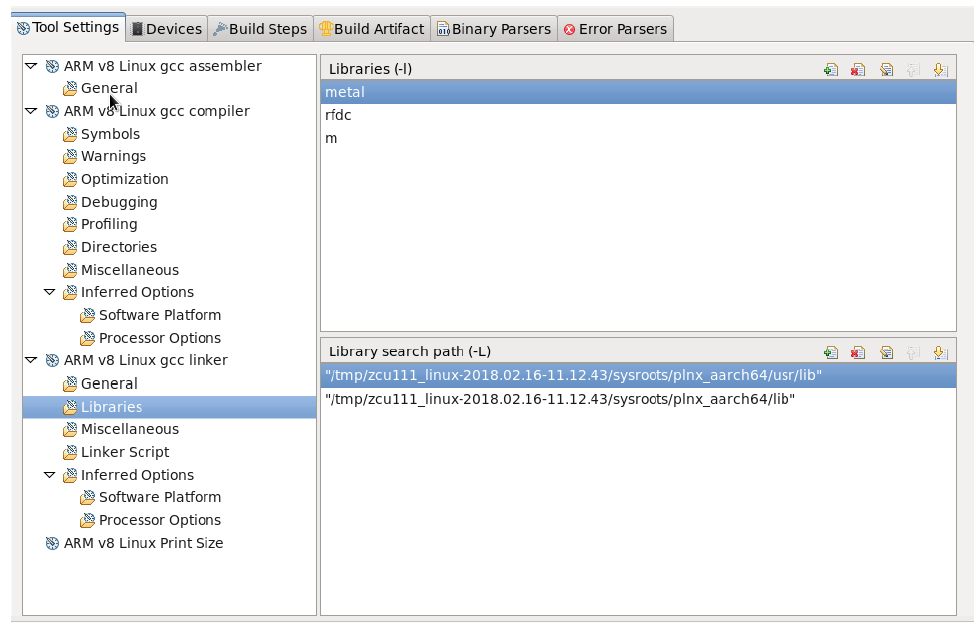
Add the libraries as shown below:
Debugging on Hardware:
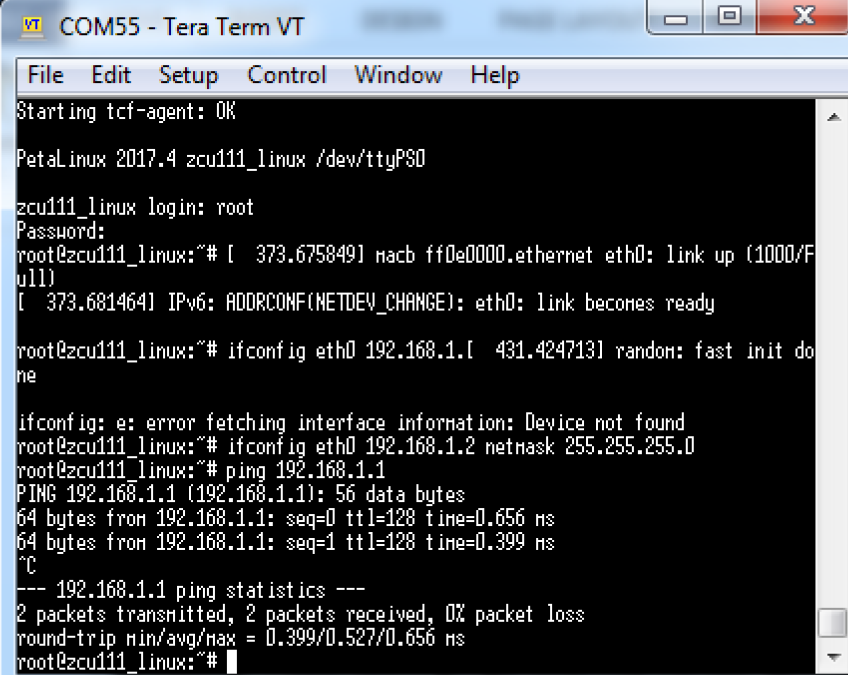
Here we need to setup a local connection between the board, and the PC that is running SDK. for example, I set up the host IP address as shown below: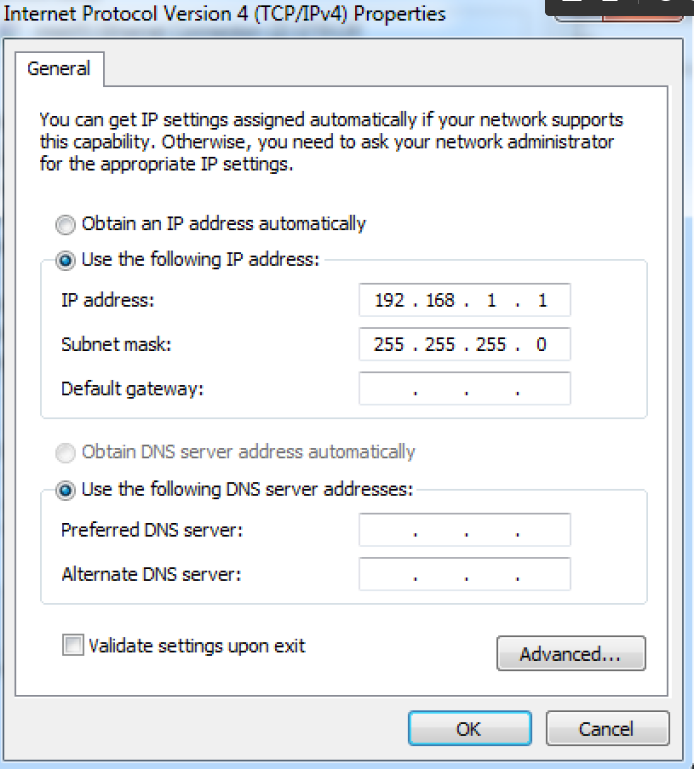
My Board IP address is setup as shown below:
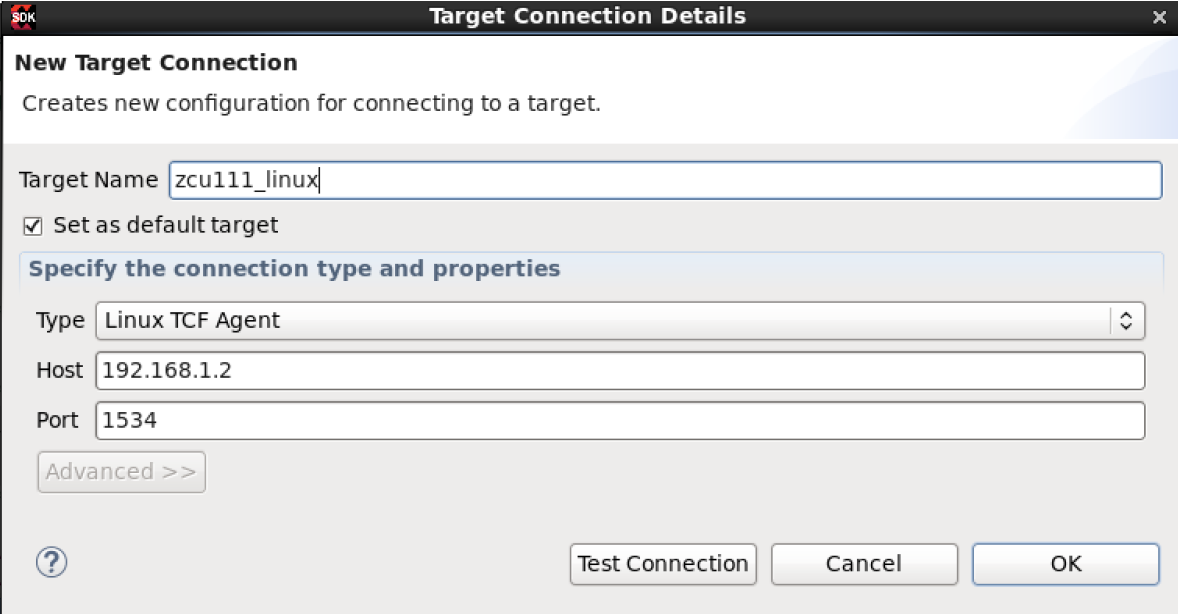
Setup the Target connection:
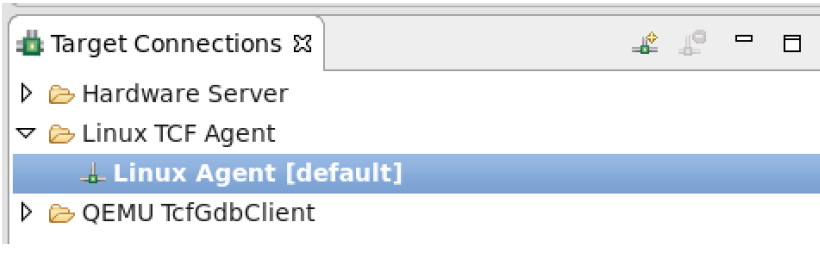
Drop down the Linux TCF Agent, and select Add new Target Connection.
Setup the connections with the same IP address as the one set in ifconfig:
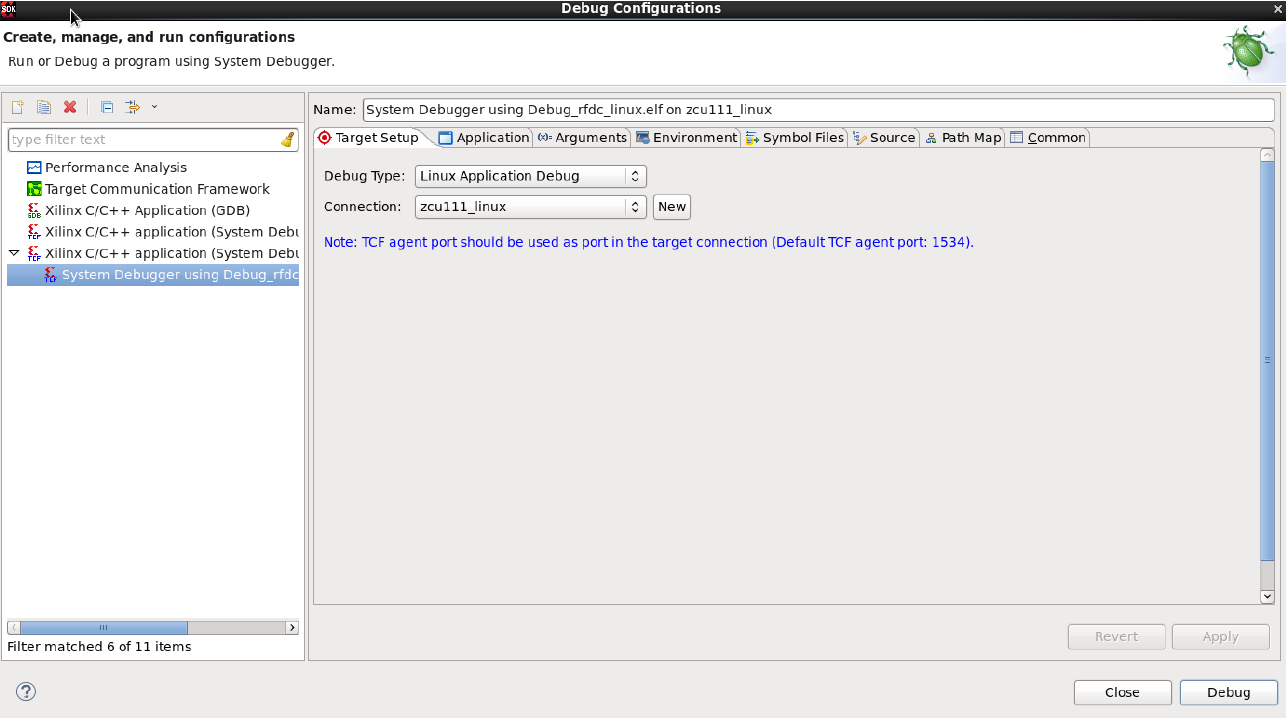
To create the Debug Configuration. right click on the application (rfdc)linux), and select Debug As -> Debug Configurations:
Related Links
© Copyright 2019 - 2022 Xilinx Inc. Privacy Policy